Once your Agency Configuration setup is complete, you can begin adding clients into the Frisco system. It's crucial to ensure that the initial configuration is finalized before attempting to add any clients.
Frisco offers two convenient methods for adding clients. For individual entries, we recommend using Single Client Addition. However, if you have a large number of clients to add simultaneously, Batch Client Upload is also available as an option. This guide will walk you through both processes.
Single Client Addition
This method is ideal for adding clients one at a time as they onboard with your agency.
Navigate to the Dashboard: Log in to your Frisco account.
Access the Clients Page: From the schedule page, Click on "Clients" in the left-hand menu/sidebar to go to the clients page.
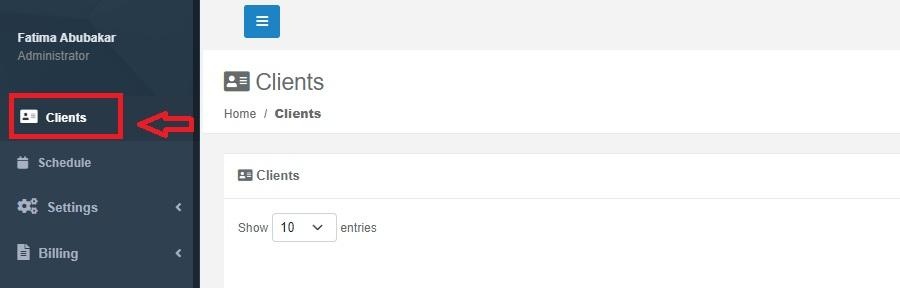
Locate "Add Client": On the Clients page, you will find an "Add Client" button. Click this button to initiate the process.

Enter Client Information: A form will appear, prompting you to enter the client's basic information. Fill in the required fields.
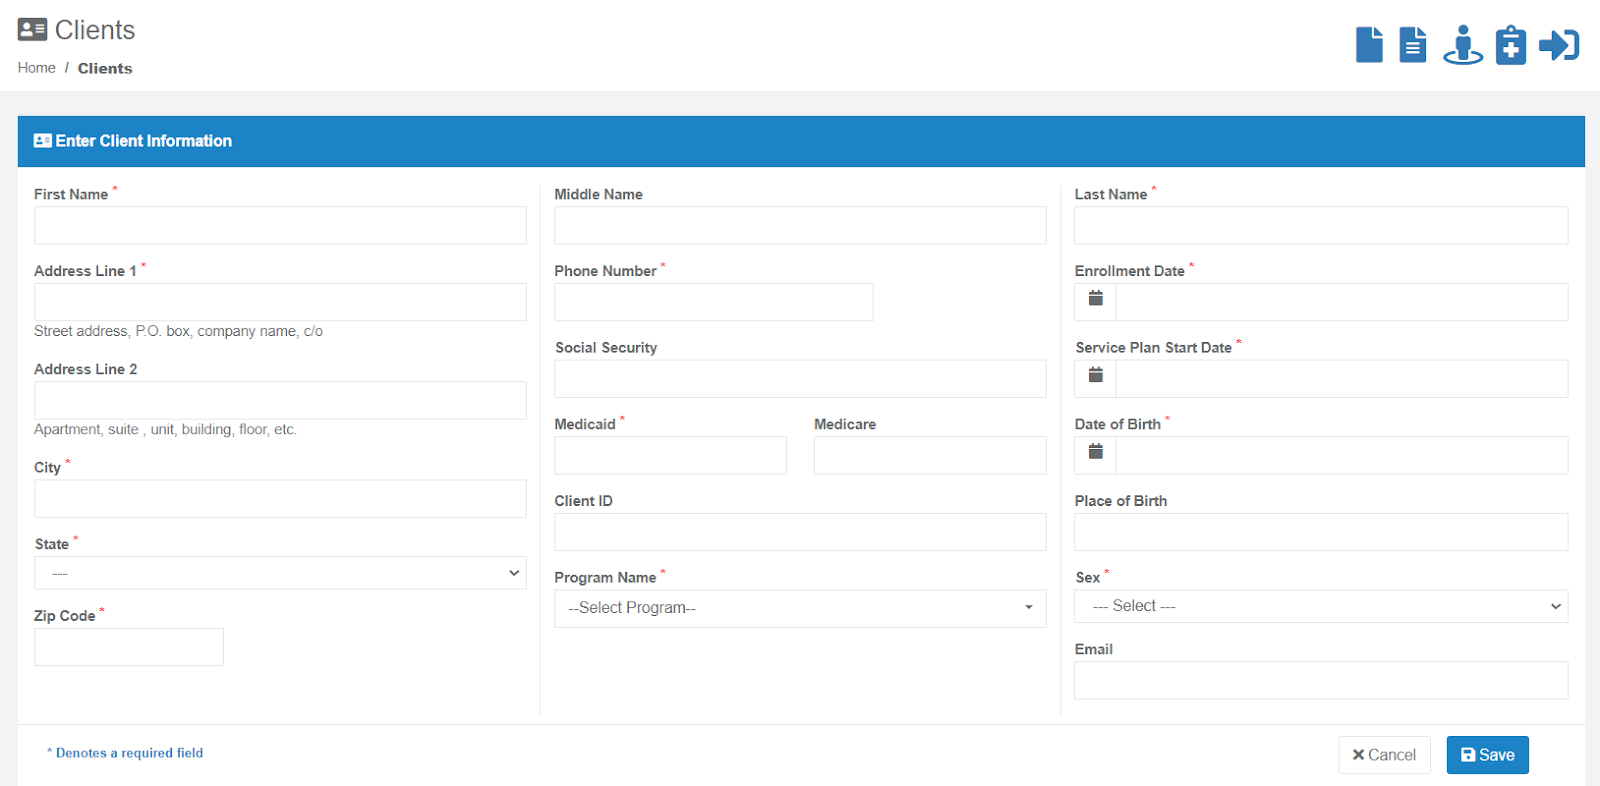
Save Client: Once all necessary information is entered, save the client's profile.

6. Client Dashboard: Once the client's information is saved, the client will appear and be listed in the client dashboard.
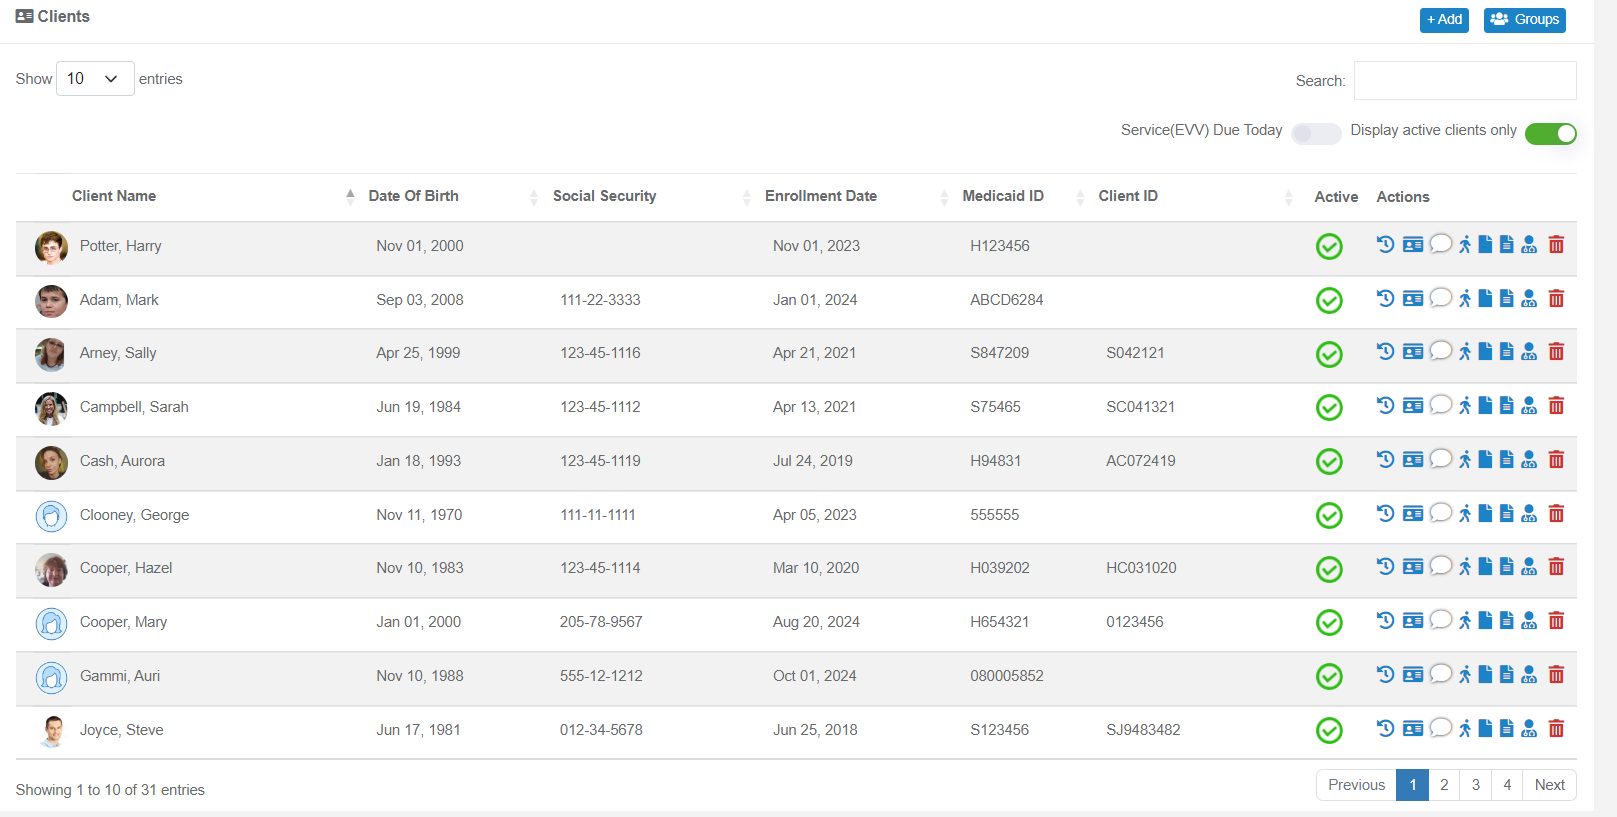
This straightforward process allows for the immediate addition of individual clients, capturing their essential details during the entry.
For agencies requiring the simultaneous addition of numerous clients, the Batch Client Upload feature offers an efficient solution. To proceed, please request the standardized Client Info Excel template by contacting support@frisco.care.
Important Considerations:
It's important to understand that both the Single Client Addition and Batch Client Upload methods are designed to capture basic client information initially.
Following the successful addition of clients to the system, further actions will be required on an individual client basis. These include:
Assigning Supporting Staff: This involves linking Providers, Program Managers, and other relevant staff members to the client's profile.
Adding Guardians: Inputting information for legal guardians or emergency contacts.
Adding Authorizations: Documenting service authorizations and other pertinent approvals.
These additional details must be managed by accessing each client's individual profile after they have been successfully added to the Frisco system.
By following these steps, your agency can effectively manage adding the clients within Frisco, ensuring accurate data entry and paving the way for comprehensive client management.
Was this article helpful?
That’s Great!
Thank you for your feedback
Sorry! We couldn't be helpful
Thank you for your feedback
Feedback sent
We appreciate your effort and will try to fix the article